3 Min ReadBy Ben Nemeroff
How to Read Guitar Chord Charts
Whether you’re a beginner guitarist or a seasoned player, learning how to read a guitar chord chart can help you more easily play a variety of chords and chord shapes.

Sections
While learning to play guitar is a lifelong journey, guitar chords are one of the first and most important steps new players can take to starting to play some of their favorite songs. Guitar chords are made up of at least three notes played on two or more strings, strummed together to create a full-bodied sound that helps to provide the melody of a song.
Even if you aren’t ripping through a solo, complete with a flurry of fast fingerwork along the fretboards incorporating a variety of techniques, learning to play chords can help you to strum along with the rhythm parts of a song. Additionally, ambitious players can strum chords and learn to sing over them or accompany other vocalists while playing the rhythm parts of a song.
One of the first steps amassing an extensive guitar chord vocabulary is learning how to read guitar chords. This can help you easily learn shorthand to play a variety of chords in different positions along the fretboard. In this article, you’ll learn how to read chord charts to help you more easily learn how to properly play a variety of chords.
What is a guitar chord chart?
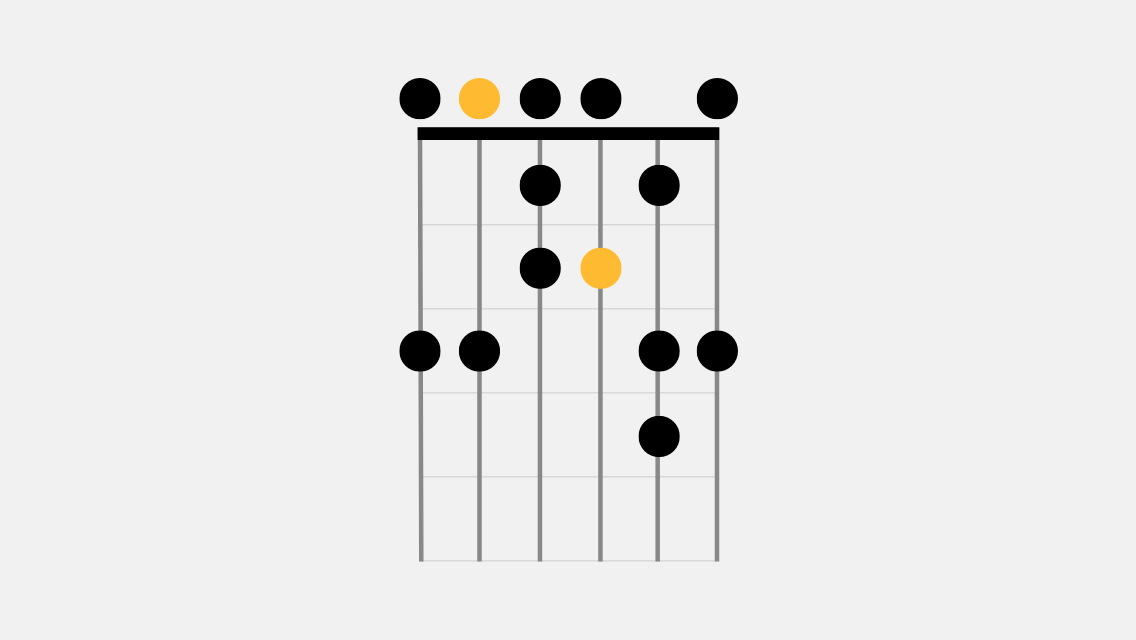
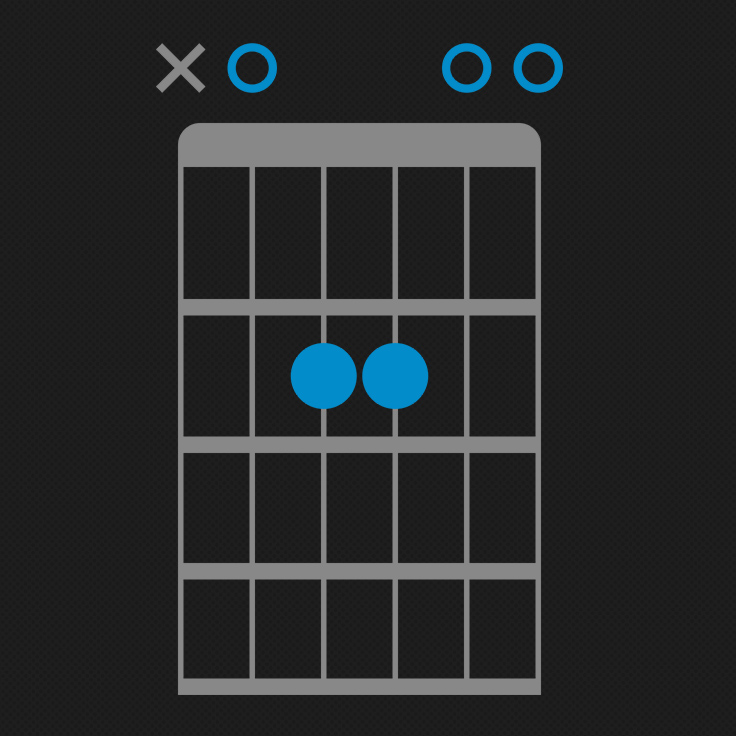
A guitar chord chart is a shorthand way of understanding which frets of which strings you should place your fingers on in order to play a specific chord. This diagram is displayed as a grid, consisting of vertical lines that represent the six strings of a guitar and horizontal lines that represent the frets on your guitar’s fretboard. The thicker black bar at the top of the diagram represents the guitar’s nut, giving you a visual starting point to discern the appropriate frets where you should place your fingers.
What are the parts of the guitar chord chart?
While a guitar chord chart can help you visualize where you should place your fingers on the proper frets and strings to strum any given guitar chord, there’s more to learning to play a chord than just where to place your fingers. The vertical and horizontal lines of a chord chart correspond to specific notes that make up the formulas to create individual chords.
Don’t miss out!
Be the first to know about new products, featured content, exclusive offers and giveaways.
Vertical & Horizontal Lines
The vertical lines of a chord chart represent each of the six strings of a guitar. From lowest to highest, they are:
• 6th (and lowest toned) string: low E • 5th string: A • 4th string: D • 3rd string: G • 2nd string: B • 1st (and highest toned) string high E
While each vertical line of a chord chart represents each of the six strings, the horizontal lines of a chord chart represent the frets of a guitar. Each horizontal line is an indicator of which fret of each string you should place your finger on in order to play a given chord.
What do the Numbers and Dots Mean?
Now that you know what the vertical and horizontal lines mean on a chord chart, it’s time to get down to what the numbers inside each of the dots on the corresponding strings and frets mean. Whenever you see a number inside a dot on a given correspondence point on a chord chart, it’s an indicator of what finger you should use to place on a given fret or across a series of frets in order to sound the correct note.
Each of the given numbers inside a dot on a given fret line correspond, as follows:
• 1 = Index finger • 2 = Middle finger • 3 = Ring finger • 4 = Pinky
X’s and O’s
When looking at a chord chart, you may see “X’s and “O”s above the thick black line that represents the nut of your guitar. It’s not a wonky version of Tic-Tac-Toe. Rather, it’s shorthand for which strings you should strum and which strings you should mute when playing a given chord.
An “X” above a string indicates that the string should be muted when strumming a chord. An “O” above a string means that the string should be played in the open position (without a finger on any of the frets aligned with that string) in a given chord. These shorthand notations of “X’s and “O’s can help you easily see which strings you’ll need to omit from a strumming pattern, which strings are played in an open position, as well as which strings need you to place a finger on a given fret in order to strum a specific chord.
Check Out Fender Play Guitar Lessons
Now that you have a better understanding of chord charts, you can use that knowledge to try your hand at playing any chord that a given song calls for. To put your knowledge of chord charts to good use, a free trial of Fender Play can help you apply those skills by learning songs you love and expanding your musical horizons. Among countless songs and skills that you can learn, Fender Play also includes an extensive chord library packed with chord charts and lessons to teach you how to play a variety of chords.
Feel confident in your chord knowledge? Fender Play also lets you test your skill with the Chord Challenge mode. Try to beat your personal best score by transitioning through commonly-used chord progressions, playing them in time with the Fender Play app. This can help you play along with other musicians and increase your accuracy in transitioning between some of the most popular chords.
Learn to play anywhere, any time with Fender Play.